A beautiful, clean, minimal & responsive personal portfolio landing page HTML template designed using Bootstrap v5.2
56/100 healthLoading repository data…
Loading repository data…
Mshandev / repository
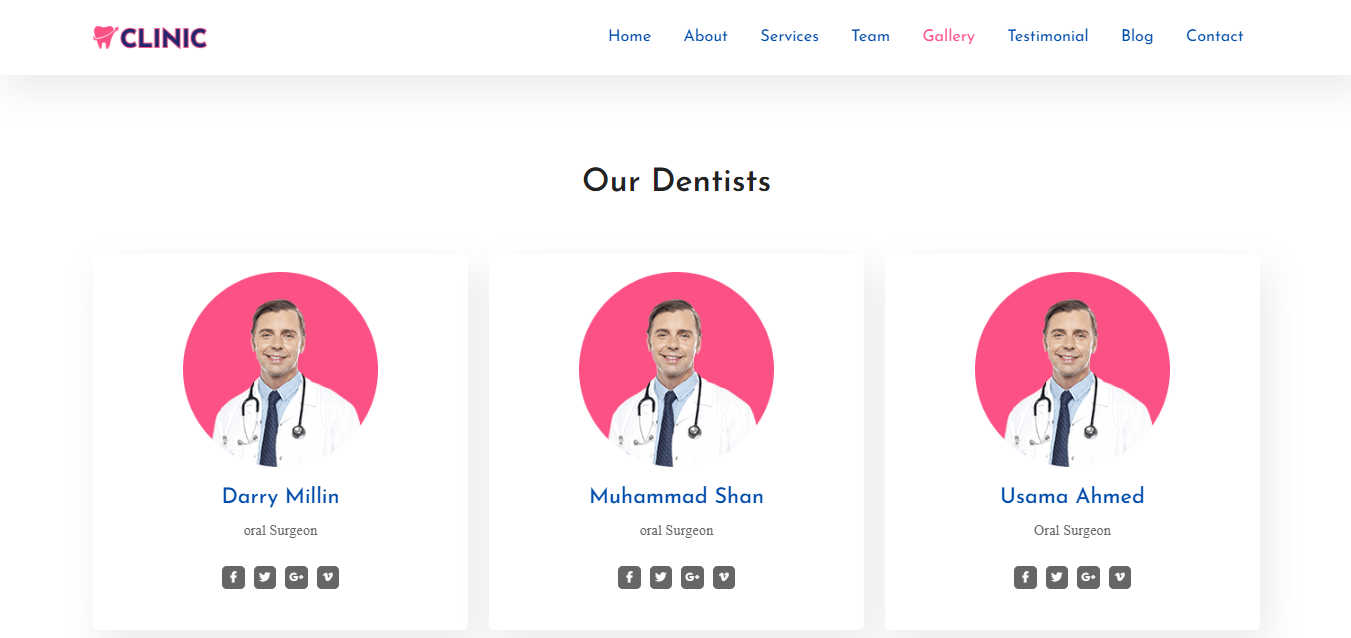
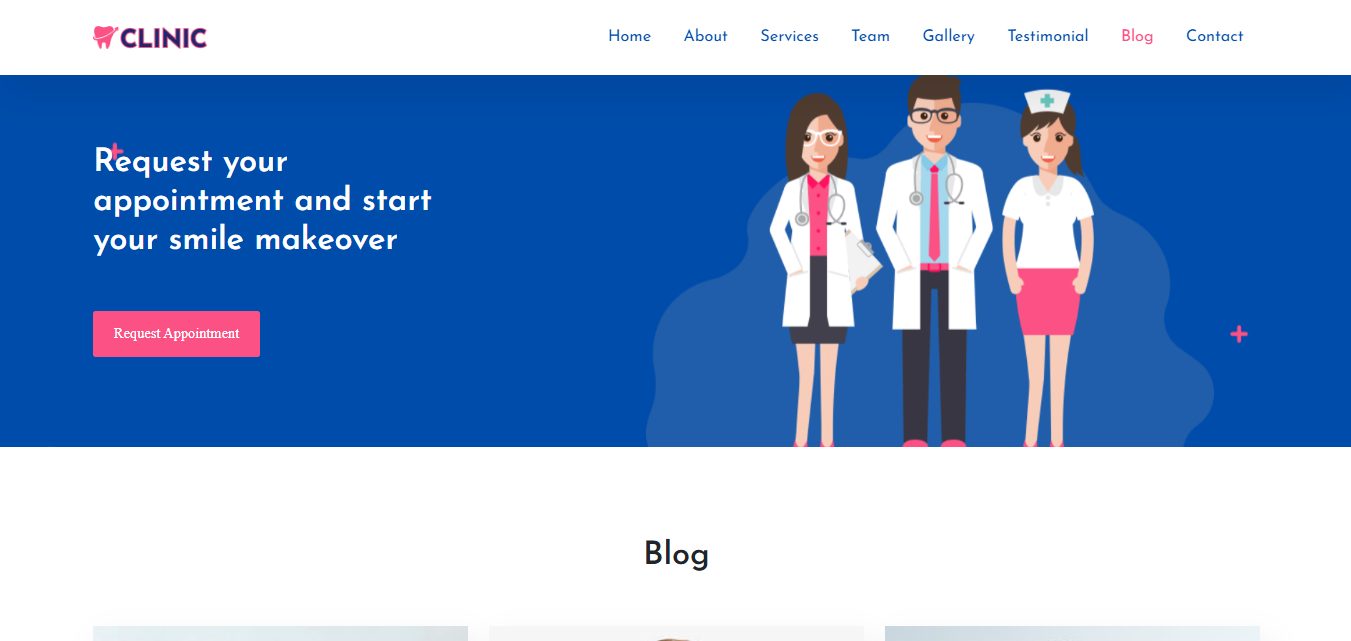
A beautifully designed and attractive landing page for a doctor clinic, built with Bootstrap. This project features a responsive layout, ensuring a seamless experience on any device. The UI is crafted to provide an engaging and user-friendly interface, perfect for showcasing a clinic's services and information.
A transparent discovery signal based on current public GitHub metadata.
This score does not audit code, security, maintainers, documentation quality, or suitability. Verify the repository and its current documentation before adoption.
- Overview
- UI of Website
- Contribution Guideline
This doctor clinic landing page is built using Bootstrap. It features a beautiful and attractive user interface designed to engage visitors. The page is fully responsive, ensuring it looks and functions perfectly on any device. Ideal for clinics looking to present their services and information in an appealing and professional manner.


To start contributing, follow the below guidelines:
1. Fork this repository.
2. Clone your forked copy of the project.
git clone https://github.com/Mshandev/Doctor-Clinic-Landing-Page
3. Navigate to the project directory :file_folder: .
cd Doctor-Clinic-Landing-Page
4. Add a reference(remote) to the original repository.
git remote add upstream Doctor-Clinic-Landing-Page.git
5. Check the remotes for this repository.
git remote -v
6. Create a new branch.
git checkout -b <your_branch_name>
7. Perfom your desired changes to the code base.
8. Track your changes:heavy_check_mark: .
Selected from shared topics, language and repository description—not editorial ratings.
A beautiful, clean, minimal & responsive personal portfolio landing page HTML template designed using Bootstrap v5.2
56/100 healthHimangshuCyber /
INSTRUCTIONS: ____________________________________________________________________________________ Goal of the Project: In Class 93, you learned how to design the UI for the login page. LetsChat WEB APP - In this project, you are supposed to make a chatting app named “LetsChat” similar to the one you will be making in the class. The above Project goal is very big to be completed in a single project, so don’t worry we will be completing in parts, just follow the instructions and complete the current project. In this project you have to design a UI for the login page and store the user name in localStorage. **This project is divided into multiple parts. Make sure you complete each part before proceeding to the next one.** Story: St. Fairy School is going digital! In the first phase, they created a very detailed website. In the next phase of digitization, the school wants to launch a chatting app. This should be a platform where all the students can communicate with each other and the teachers about various events happening in the school. Kids and teachers should be able to login, enter specific chat rooms and share their ideas. They should also be able to view what is being planned for a particular event. You are on the team that is creating this app. Your first task is to design a beautiful UI for kwitter login page. © 2019 - WhiteHat Education Technology Private Limited. Note: This document is the original copyright of WhiteHat Education Technology Private Limited. Please don't share, download or copy this file without permission. ADVANCED LetsChat WEB APP - 1 *This is just for your reference. We expect you to apply your own creativity in the project. Getting Started: Create a new folder named Let-Chat-Web-App in which you have to create the following files: ● index.html ● Kwitter.css ● Kwitter.js ● Kwitter_room.html ● Kwitter_room.css ● kwitter_room.js *If the folder does not have any one of these, then create that particular file in kwitter_project folder. Specific Tasks to complete the Project: 1. Add links for the kwitter.css file and kwitter.js file in your index.html file. 2. Create a login page -index.html - with a different UI look. Make sure it has following elements: ● Input box to take the username for login. ○ This input box should have an id for identification. © 2019 - WhiteHat Education Technology Private Limited. Note: This document is the original copyright of WhiteHat Education Technology Private Limited. Please don't share, download or copy this file without permission. ADVANCED LetsChat WEB APP - 1 . ● Use bootstrap classes to style this element and give additional styles in kwitter.css. 3. Add an onClick function to the login button. ○ Use this function to add the username in the localStorage as follows: ● Use bootstrap classes to style this element and give additional styles in kwitter.css. 4. Add code for the following in kwitter.js file for the login page: ● Take the username from the input box, store it in localStorage and then redirect it to kwitter_room.html page. *Note: Let kwitter_room.html and kwitter_room.js be empty for now, we will code for this in the next project. 5. Check the code and see the output of the design before submitting the project. *Refer to the images given above for reference. Submitting the Project: Create a folder Let-Chat-Web-App and upload all the files related to the Let-Chat-Web-App project on GitHub. You can get the steps to do this by clicking on this link. Copy the hosted link which you will get after uploading all your files on GitHub and submit it in the Student Dashboard Projects panel against the correct class number. © 2019 - WhiteHat Education Technology Private Limited. Note: This document is the original copyright of WhiteHat Education Technology Private Limited. Please don't share, download or copy this file without permission. ADVANCED LetsChat WEB APP - 1 Hints: 1. Use bootstrap to make your design more attractive. ● Here are some links which will help you in making the bootstrap framework ○ Grid system ○ Bootstrap Templates 2. Refer to the information given in the link below to see how a value can be stored in a localStorage. ● Store value in localStorage
git add .
9. Commit your changes .
git commit -m "Relevant message"
10. Push the committed changes in your feature branch to your remote repo.
git push -u origin <your_branch_name>
11. To create a pull request, click on compare and pull requests.
12. Add appropriate title and description to your pull request explaining your changes and efforts done.
13. Click on Create Pull Request.
14 You did it! 🥳 Wait for your submission to be accepted and your PR to be merged.
If you want to contact me, please reach out to me Linkedin
HimangshuCyber /
INSTRUCTIONS: ____________________________________________________________________________________ Goal of the Project: In Class 93, you learned how to design the UI for the login page. LetsChat WEB APP - In this project, you are supposed to make a chatting app named “LetsChat” similar to the one you will be making in the class. The above Project goal is very big to be completed in a single project, so don’t worry we will be completing in parts, just follow the instructions and complete the current project. In this project you have to design a UI for the login page and store the user name in localStorage. **This project is divided into multiple parts. Make sure you complete each part before proceeding to the next one.** Story: St. Fairy School is going digital! In the first phase, they created a very detailed website. In the next phase of digitization, the school wants to launch a chatting app. This should be a platform where all the students can communicate with each other and the teachers about various events happening in the school. Kids and teachers should be able to login, enter specific chat rooms and share their ideas. They should also be able to view what is being planned for a particular event. You are on the team that is creating this app. Your first task is to design a beautiful UI for kwitter login page. © 2019 - WhiteHat Education Technology Private Limited. Note: This document is the original copyright of WhiteHat Education Technology Private Limited. Please don't share, download or copy this file without permission. ADVANCED LetsChat WEB APP - 1 *This is just for your reference. We expect you to apply your own creativity in the project. Getting Started: Create a new folder named Let-Chat-Web-App in which you have to create the following files: ● index.html ● Kwitter.css ● Kwitter.js ● Kwitter_room.html ● Kwitter_room.css ● kwitter_room.js *If the folder does not have any one of these, then create that particular file in kwitter_project folder. Specific Tasks to complete the Project: 1. Add links for the kwitter.css file and kwitter.js file in your index.html file. 2. Create a login page -index.html - with a different UI look. Make sure it has following elements: ● Input box to take the username for login. ○ This input box should have an id for identification. © 2019 - WhiteHat Education Technology Private Limited. Note: This document is the original copyright of WhiteHat Education Technology Private Limited. Please don't share, download or copy this file without permission. ADVANCED LetsChat WEB APP - 1 . ● Use bootstrap classes to style this element and give additional styles in kwitter.css. 3. Add an onClick function to the login button. ○ Use this function to add the username in the localStorage as follows: ● Use bootstrap classes to style this element and give additional styles in kwitter.css. 4. Add code for the following in kwitter.js file for the login page: ● Take the username from the input box, store it in localStorage and then redirect it to kwitter_room.html page. *Note: Let kwitter_room.html and kwitter_room.js be empty for now, we will code for this in the next project. 5. Check the code and see the output of the design before submitting the project. *Refer to the images given above for reference. Submitting the Project: Create a folder Let-Chat-Web-App and upload all the files related to the Let-Chat-Web-App project on GitHub. You can get the steps to do this by clicking on this link. Copy the hosted link which you will get after uploading all your files on GitHub and submit it in the Student Dashboard Projects panel against the correct class number. © 2019 - WhiteHat Education Technology Private Limited. Note: This document is the original copyright of WhiteHat Education Technology Private Limited. Please don't share, download or copy this file without permission. ADVANCED LetsChat WEB APP - 1 Hints: 1. Use bootstrap to make your design more attractive. ● Here are some links which will help you in making the bootstrap framework ○ Grid system ○ Bootstrap Templates 2. Refer to the information given in the link below to see how a value can be stored in a localStorage. ● Store value in localStorage
27/100 healthtemplatesJungle /
HostHub is a beautifully designed free web hosting Bootstrap 5 website template by TemplatesJungle. It is suitable for other digital websites also.
34/100 healthtemplatesJungle /
Care is a Bootstrap 5 website template specially designed for Beauty Store Ecommerce Websites. The ultimate e-commerce website template is designed specifically for makeup, skincare, and beauty product stores. You can also use this beautiful website template for other e-commerce niches.
34/100 health